Axworthy Ghosts

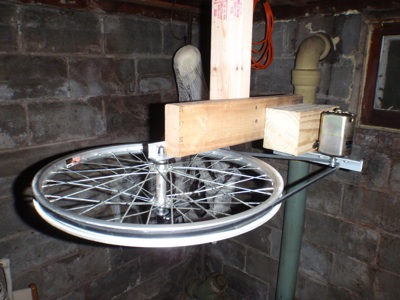
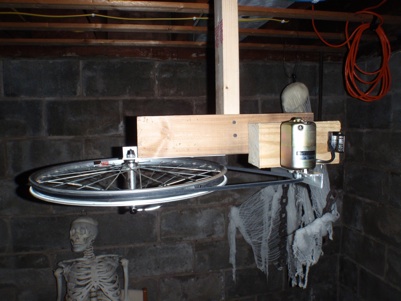
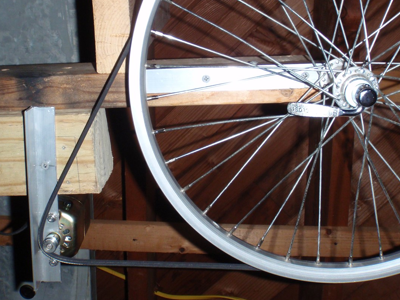
The motor support required a bit more work, obviously. The first question was how to transfer the power from the sewing machine motor to the guide line. My idea was to have two of my wheels attached to each other, with the top wheel being driven by the sewing machine motor and the bottom actually driving the guide line. Next question was, how do I attach the two rims together? I decided to take one of the wheels, clip out all of the spokes leaving only the rim, and attach it to another wheel. Going on the suggestion of a coworker, I used four small pieces of leftover angle iron to attach them together on the inside of the rims screwed from the outside in. That way the screw heads would be covered along with the spoke heads by the rubber strip that goes around the rim
I bought a serpentine belt from the local auto parts store and trimmed the width down to fit over the pulley that came on the sewing machine motor. I used a new blade in the utility knife and it worked like a champ with the ridges from the belt guiding a perfect cut. Just a note: the belt does not have to be very tight to work. In fact, if it’s too tight the motor can’t turn. It can be kept quite loose and still work.
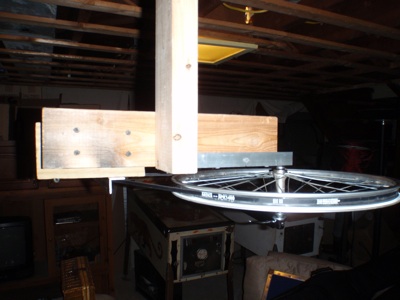
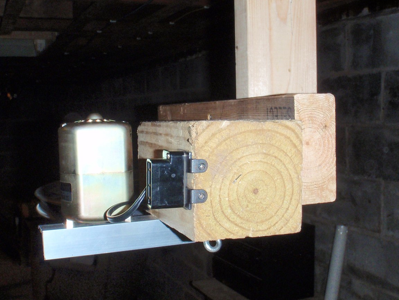
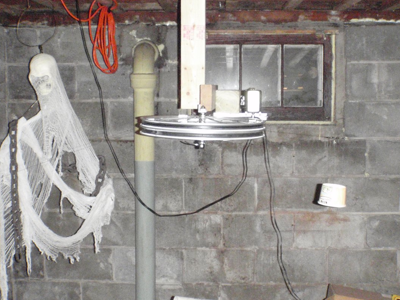
I mounted the motor on a piece of angle iron and secured the angle iron with a single screw to a piece of wood attached to the horizontal 2x4. This allows the arm to piviot and enables me to attach a spring to the arm and help keep a relatively constant tension on the belt. The motor pulley and the wheel need to be kept in line with each other to keep the belt from binding, which is why the 4x4 is offset from the horizontal 2x4.
Motor Support